
# BTCPay Server
# Enable and open the app
- Enable the app and wait for the page to reload
- Open the app from the homepage or go to mynode.local:49393 (opens new window), accept the risks of self-signed certificate. (Wait for few minutes if the homepage doesn’t show up.)
# Create an admin account
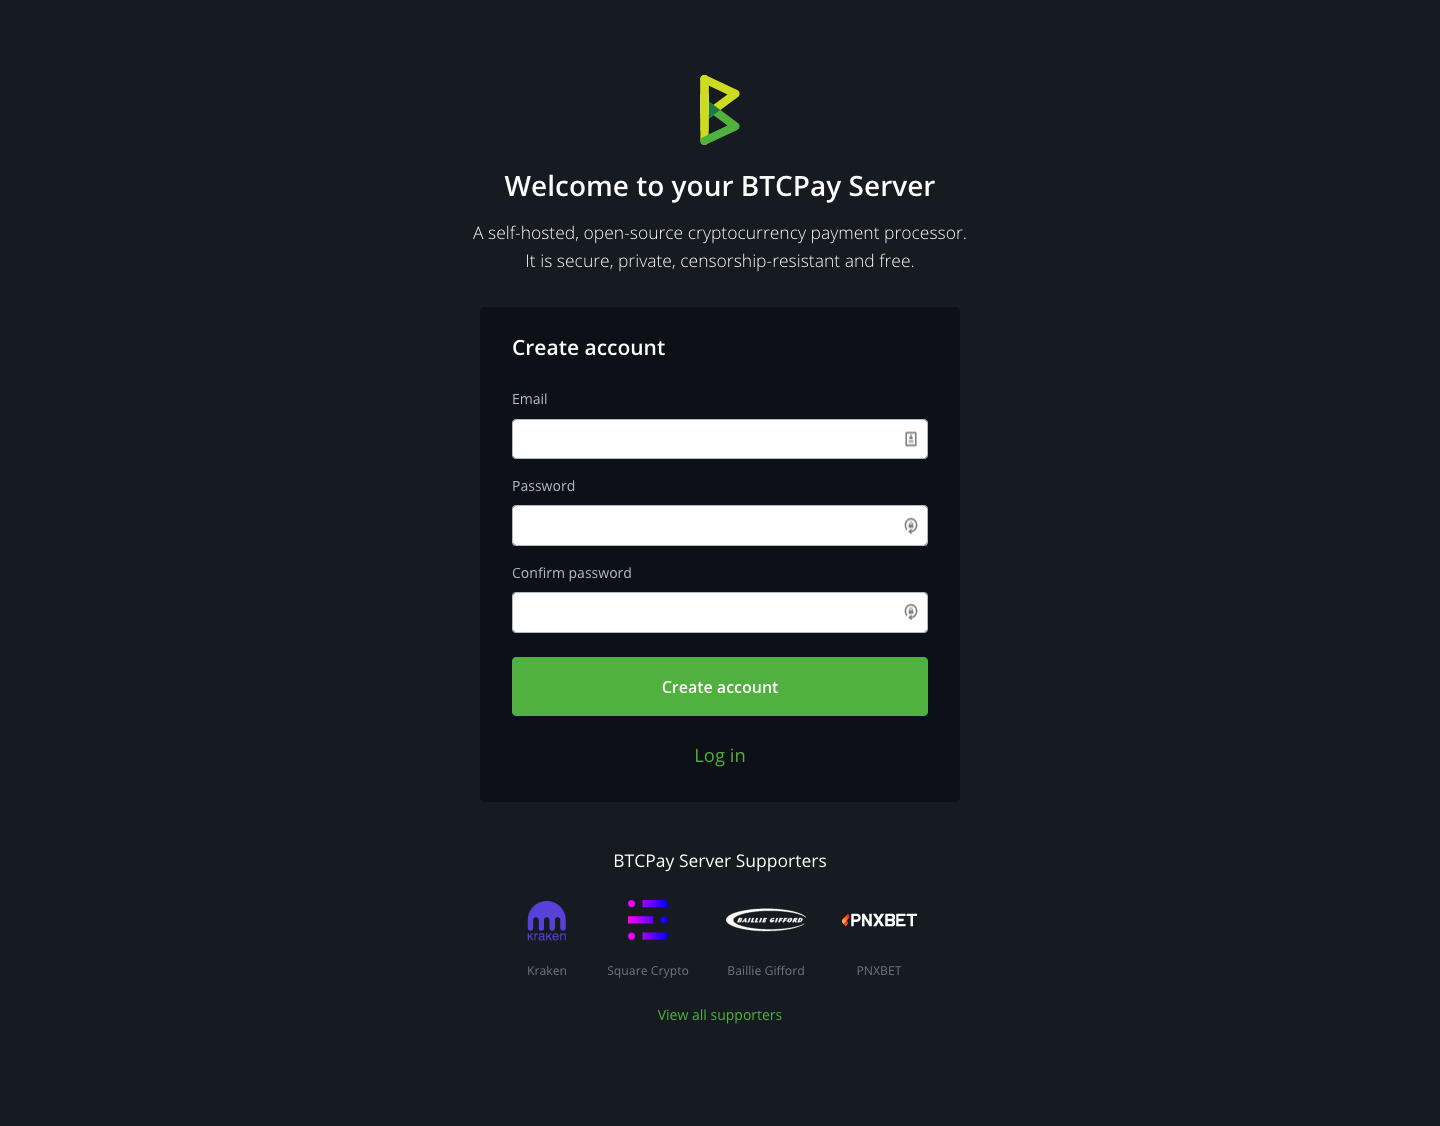
- Create an account using your email and password. First account has admin privileges by default.
# Create a Store

- Go to "Stores" page from the menu-bar on the top, and create a new store
- Give your store a name, hit "Create"
- Setup a BTC and/or lightning wallet
- For BTC wallet: either import an existing wallet or create a new wallet
- For this example, we’ll create a hot wallet with default settings
- Backup the seed phrase, check the box and complete the process
- For BTC wallet: either import an existing wallet or create a new wallet
# Create an App
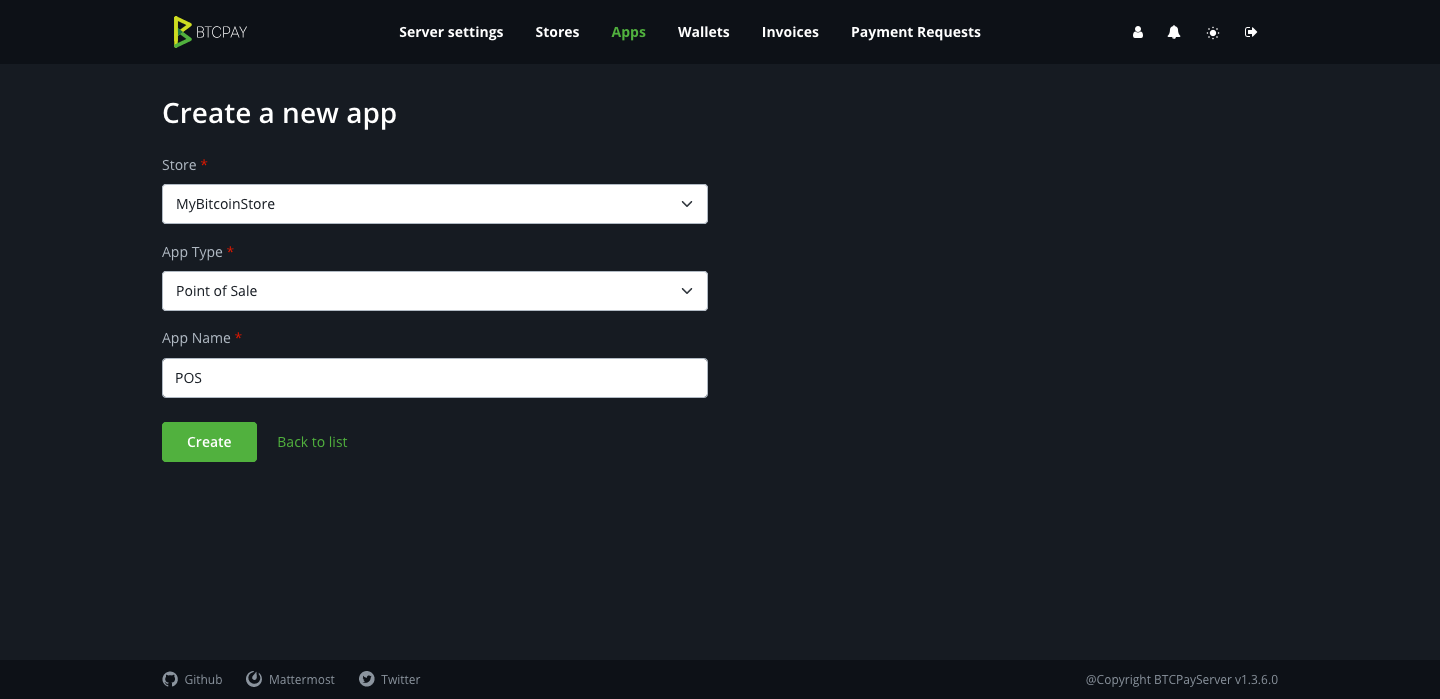
- Go to the "Apps" page
- Create a new app
- Let the app type be "Point of Sale", give a name to your app
- The BTC Pay server populates it with a default set of items, edit/delete them if you like
# Configure the router to forward ports
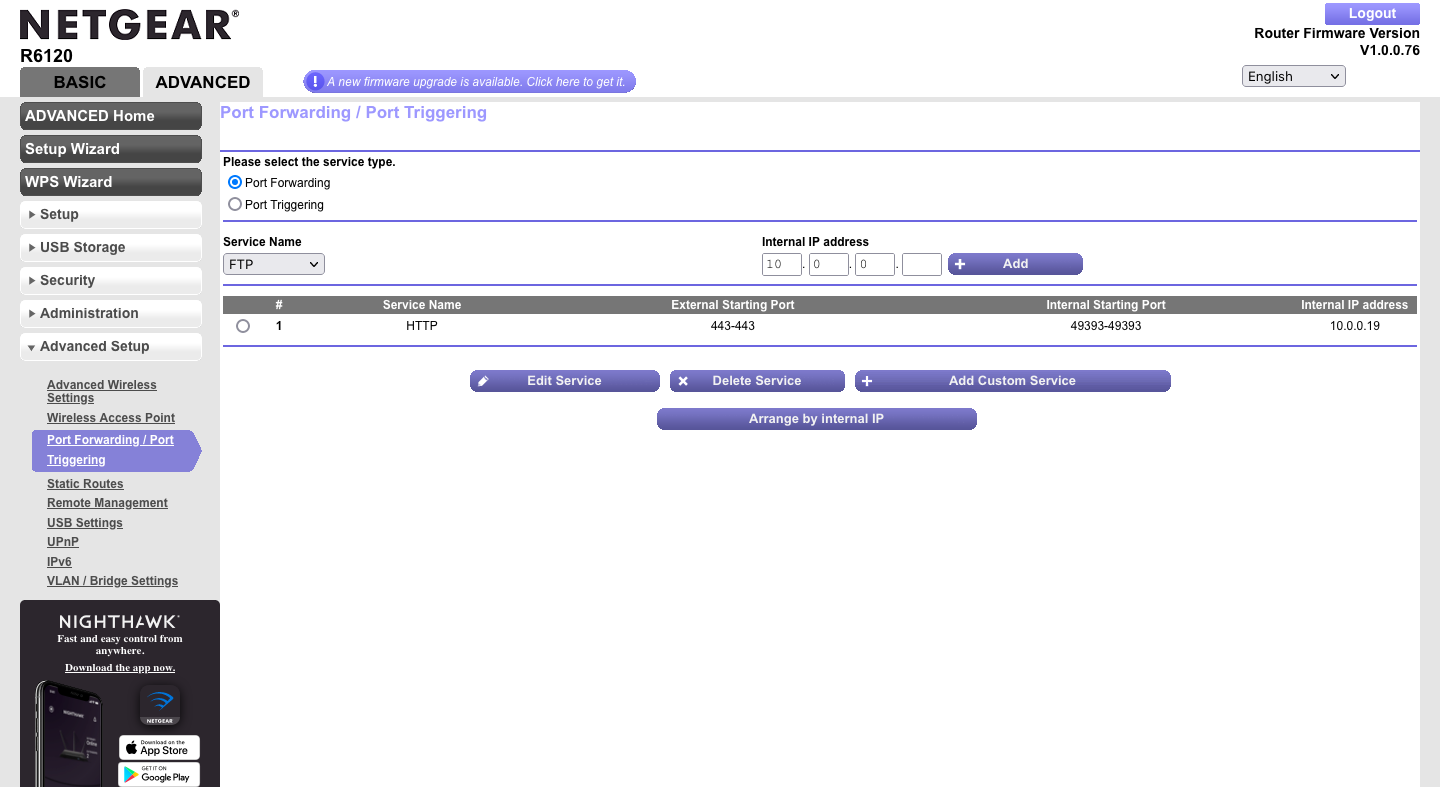
- Using the admin page of your router, forward the external port 443 to the internal port 49393 and the IP of your MyNode (10.0.0.19 in this example)
- Verify the setting by opening the public IP your router in a browser. It should open the homepage of your BTCPay server.
# Buy a custom domain and connect it to your BTCPay server
- Godaddy (opens new window) is a popular registrar
- For example you bought "awesome.com"
- Find the DNS Records page and add an entry
- Choose "A" type
- Enter the name of the subdomain, eg. store
- Enter your public IP address as the value
- Wait for the default TTL value
- Browse to "https://store.awesome.com", it should open the homepage or login page of your BTCPay server
- To open the Point of Sale app, go to Apps page and click on "View" button. You should see the default shop as seen below.

# References
← Mempool JoinMarket →