
# Getting Started with MyNode
Welcome! Setting up a new MyNode device can be done in a few simple steps and you will soon be running a Bitcoin and Lightning node!
# Assemble your Device
Select your MyNode device or "Build Your Own" to get setup steps specific to your situation.
Acquire Parts
First, you need to acquire parts to assemble the device. A full parts list can be found on the MyNode download page.
In general, you will need:
- A Mini PC or Raspberry Pi 5
- A 32 GB or larger USB thumbdrive as the boot drive
- A 2 TB SSD for the data drive
Download MyNode OS Image
Next, you need to download the MyNode image for your device type and flash it to a USB thumbdrive according to the instructions on the download page. The device will boot from the thumbdrive into MyNode OS!
Connect Data Drive
Many devices, like the Raspberry Pi 4 and 5, use an external drive attached via USB for data storage. Some devices, like mini PCs, support internal storage drives. Those should be preferred and offer better performance.
For internal storage, follow these steps:
- Open Mini PC
- Insert an SSD or NVMe drive of at least 2 TB
For external storage, follow these steps:
- Insert SSD into USB Enclosure
- Verify connections are secure
- Attach SSD enclosure to device in USB 3 port (blue)
Setup Device
- Insert the flashed USB thumbdrive into the device
- Connect the Ethernet cable between your device and your router
Power on Device
- Plug power cable in outlet and connect to device
- Push power button if your device has one
Your node is now booting and will be accessible shortly!
Setup Device
- Insert the provided USB thumbdrive into the device
- Connect the Ethernet cable between your device and your router
Power on Device
- Plug power cable in outlet and connect to your device
- Push power button on the front of your device to turn it on
Your node is now booting and will be accessible shortly!
# Connecting to MyNode
Your MyNode device runs its own web server that you can access with any browser on the same WiFi or local network. Visit http://mynode.local/ (opens new window) or the IP address in a web browser on your PC, laptop, tablet, or phone.
Note: The device may reboot during initial setup. The web interface may not be available for 5-10 minutes.
Upon accessing the web interface, you will be prompted to login. The default password is bolt.
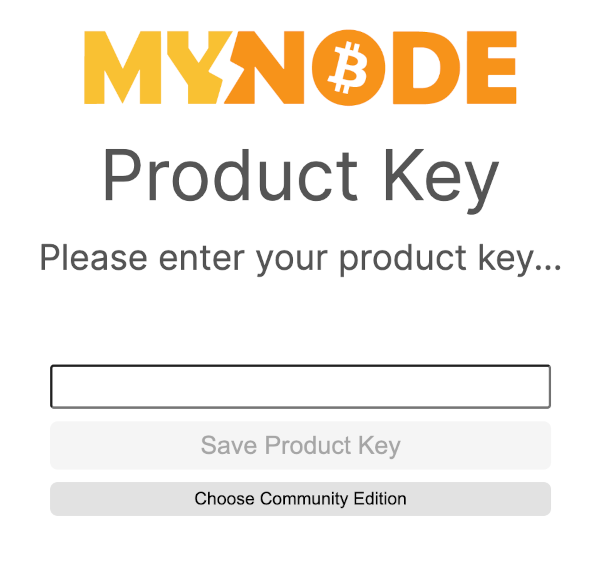
You will be prompted to enter your product key. If you are using the Community Edition, you can choose that option. Otherwise, enter the product key that has either been emailed to you, or is found on the bottom of your device.
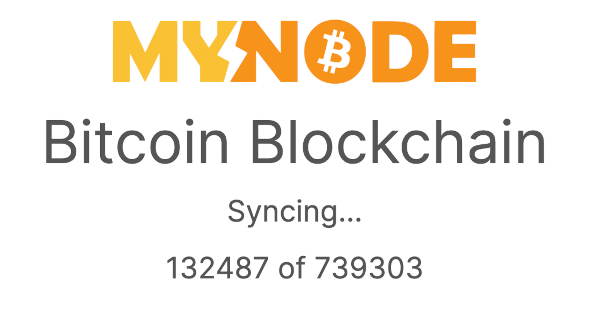
Next, the device will begin syncing the Bitcoin Blockchain! This process can take a while, depending on your device speed and your network bandwidth. The MyNode web interface will show you the current status of synchronization. Once the initial sync is completed, the device will automatically stay synchronized with the Bitcoin network and display the main application page.
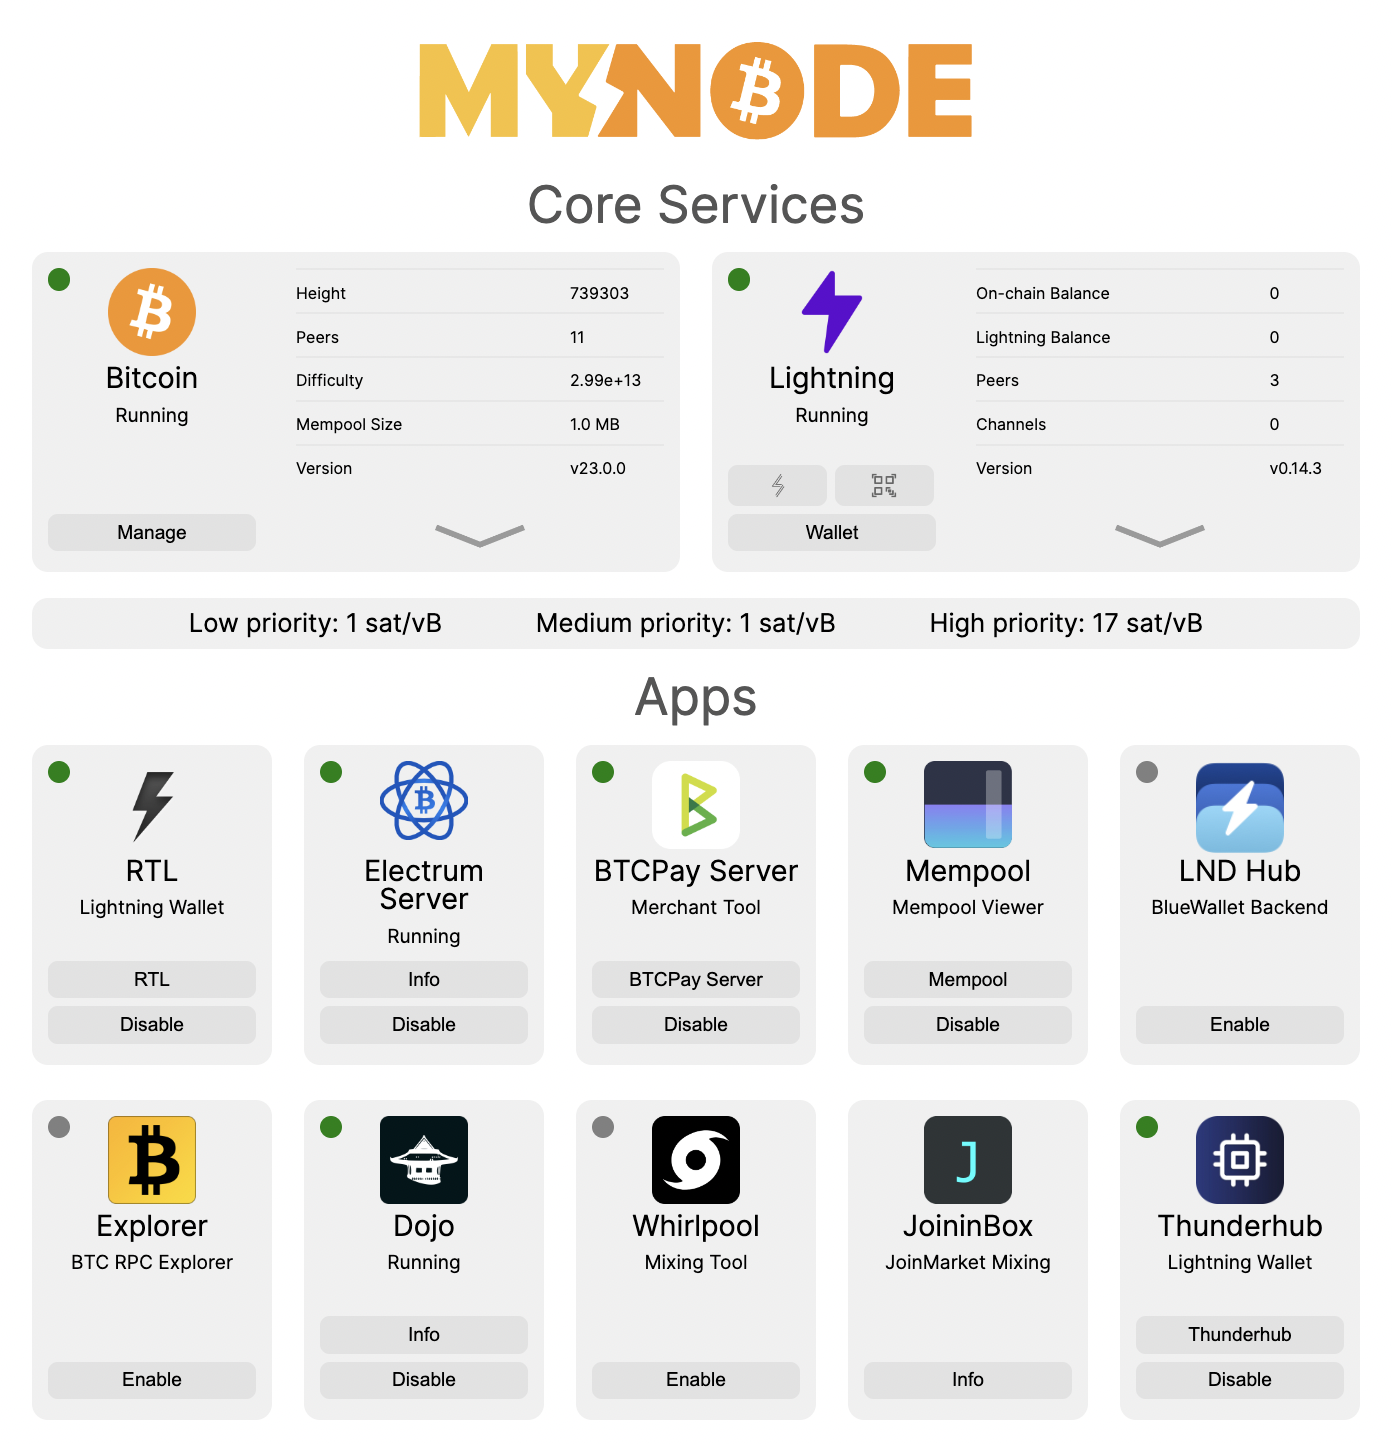
Your MyNode device is now ready and you will see the main MyNode home page.
You can optionally connect to your MyNode device via SSH if you are familiar with Linux. You can connect using the device IP or hostname.
# Default Credentials
Username: admin
Password: bolt
Note: It is recommended to change your password.
From here, you can start using all the features MyNode has to offer!
# Upgrade your Device
Once your device has started, you should upgrade your device to the latest version! Upgrading gives you the latest apps, features, and fixes.
We have several simple ways to upgrade mynode described in the guide linked aboved.