
# Flash MyNode OS Image
For most types of devices, including the Raspberry Pi 4 and mini PCs, the first step in getting started is to download a MyNode image and flash it onto a USB flash drive or SD card. The the flash drive is then inserted into the device so it can run the MyNode software.
This same process can be done to load new versions of software, reset your password if it was forgotten, or to swap to a new flash drive with larger storage capacity.
# Download the Software Image
You will need to download the image for your device from mynodebtc.com/download (opens new window).
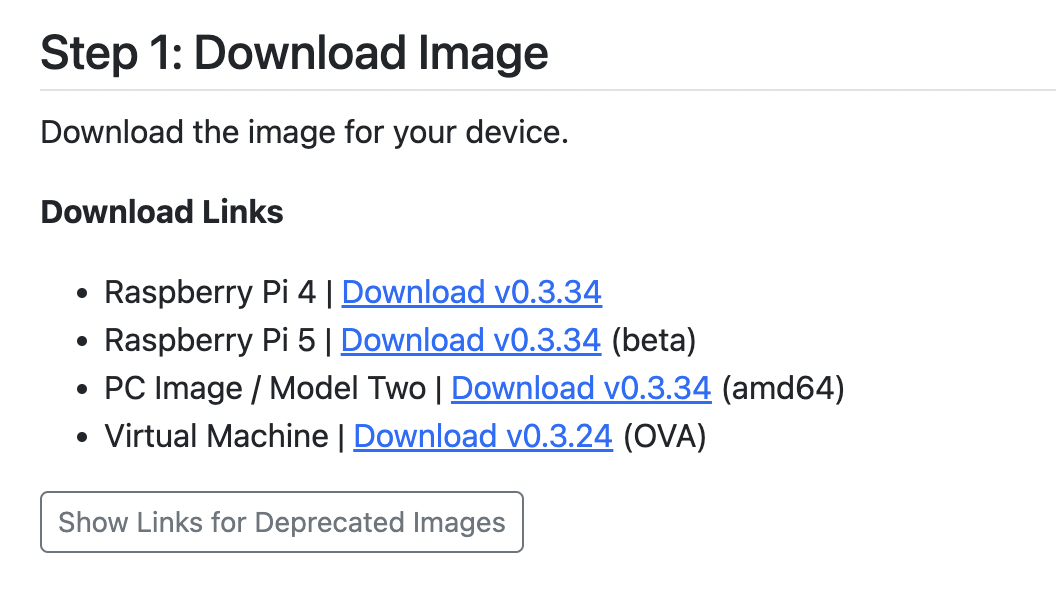
Once downloaded, the software needs to be written to the flash drive.
# Flash the OS Image
To load software image on the USB drive or SD card, you will need to connect it to your computer. If you have an SD card, you will need a way to connect it to your computer. Some PCs and laptops have a slot to insert them, but most users will need a USB to micro SD adapter. They can be found on Amazon (opens new window).
Connect the flash drive to your computer.
Then, download Etcher (opens new window), a program for writing software images, and install it on your PC or Mac.
Note: On Windows 11, some system settings may need to be changed to properly flash images. If you have issues, more information is available on the Balena Forums.
Open Etcher and click "Flash from file" and choose the recently downloaded image.
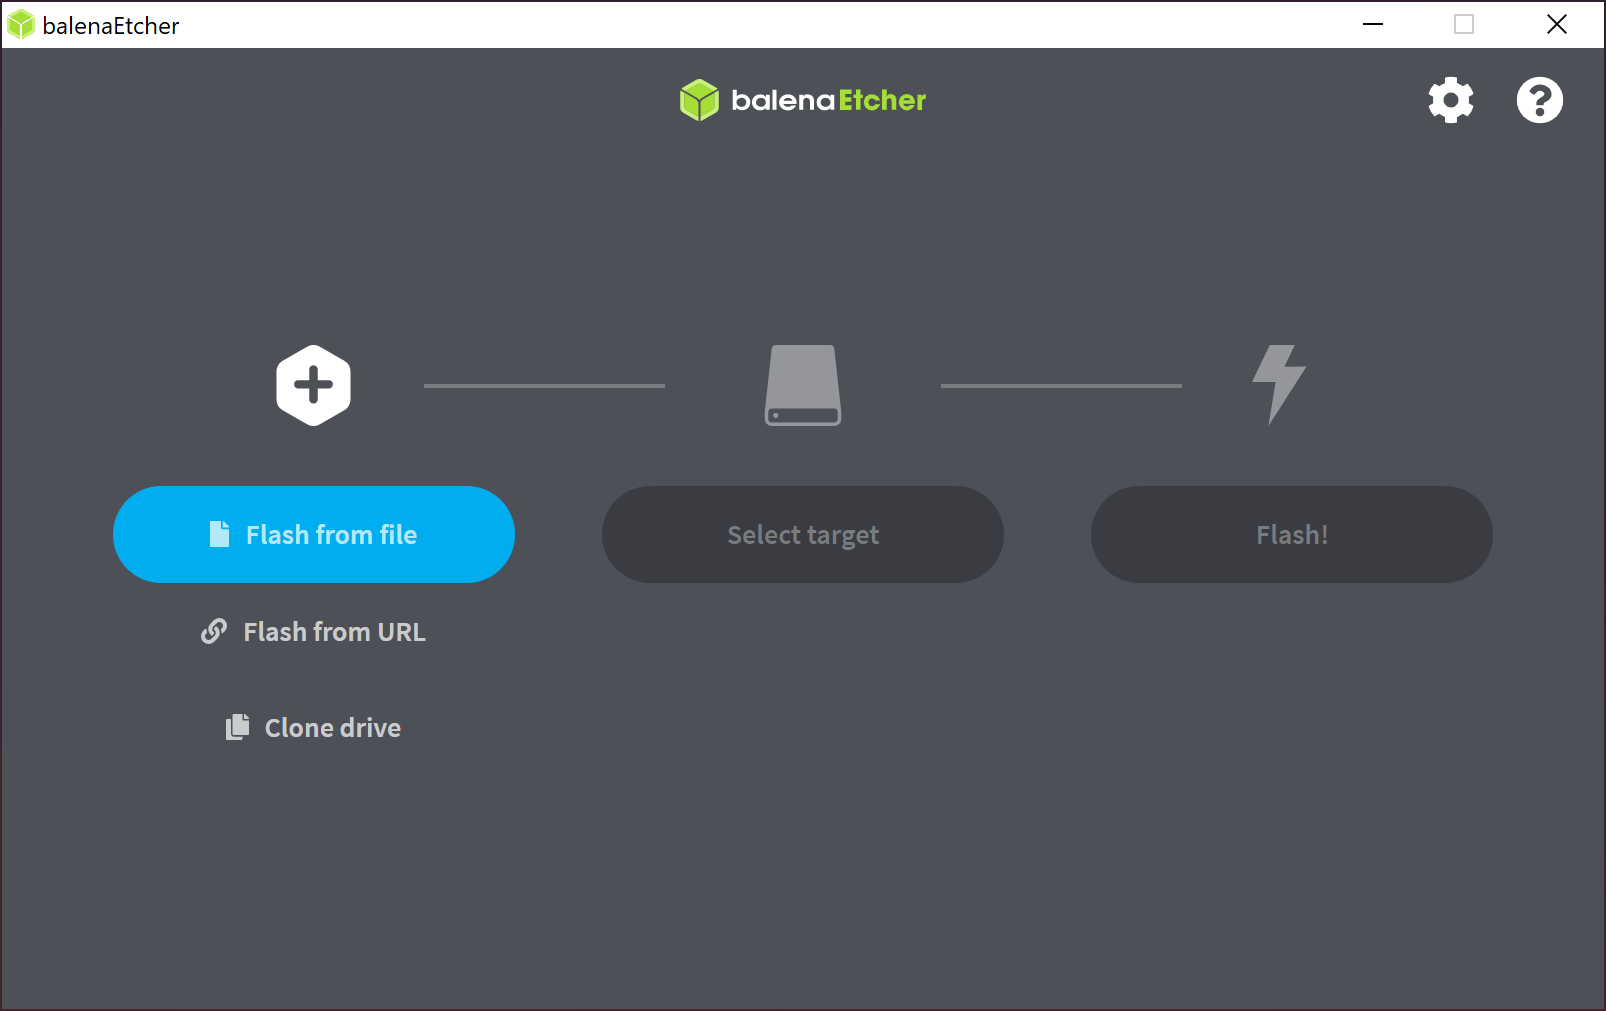
After selecting the image, click "Select target".
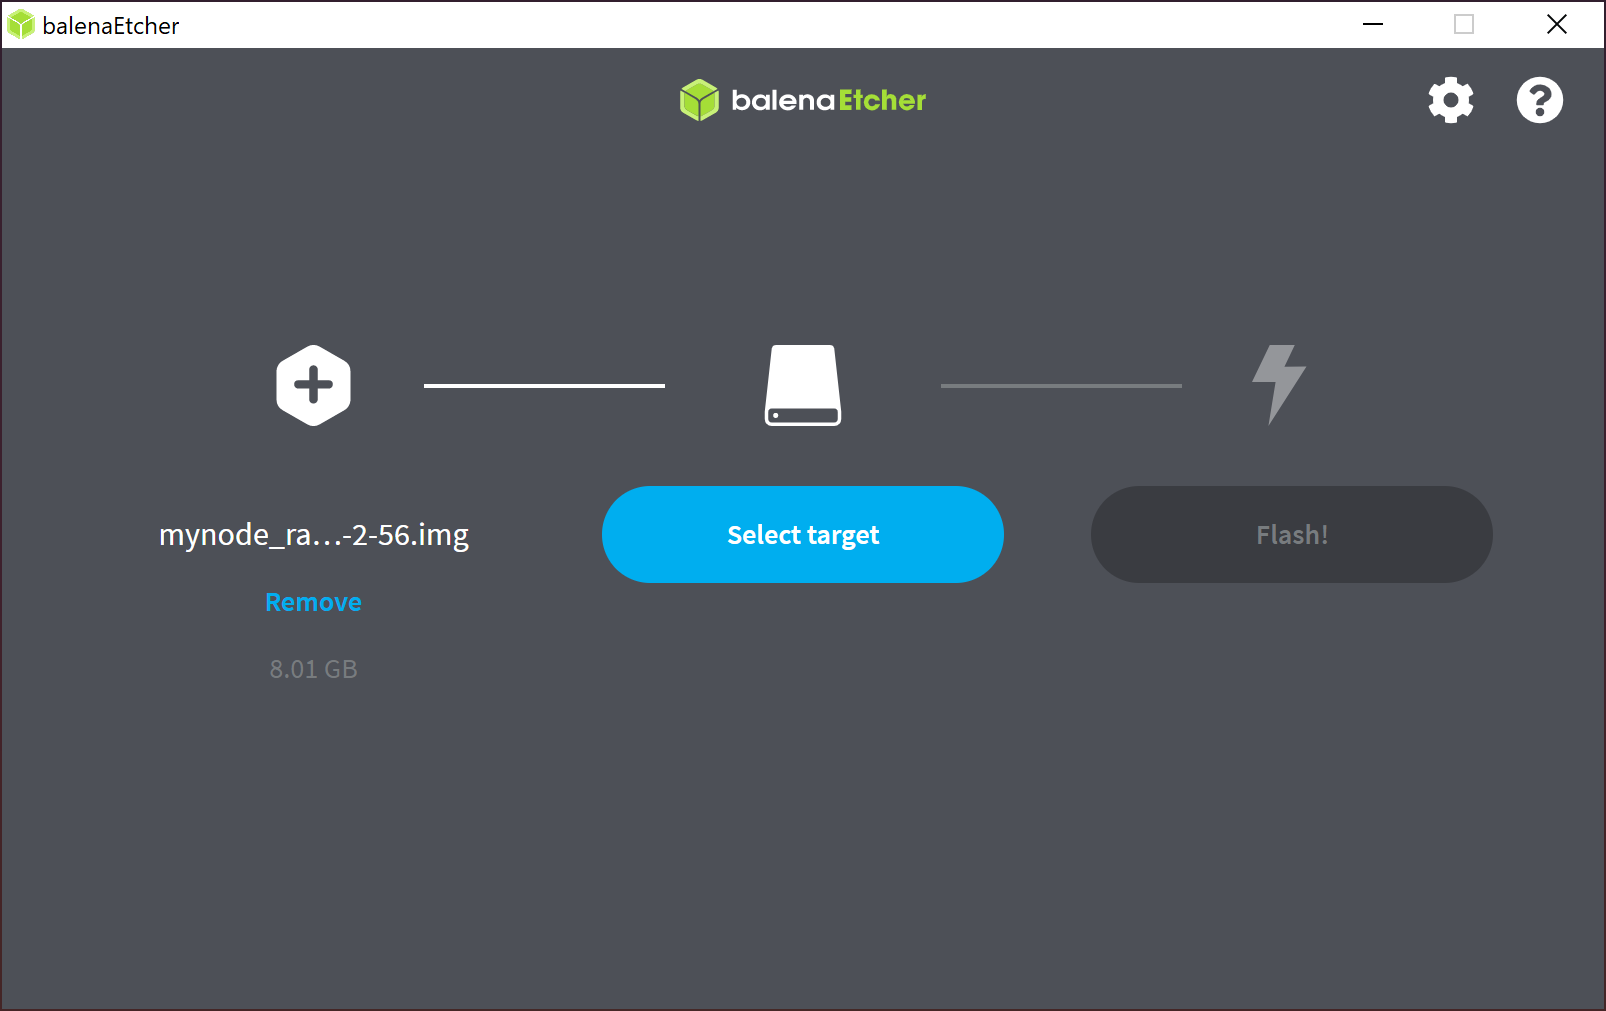
Choose the SD card or USB drive from the list and click "Select". Verify the size of the drive matches what you expect.
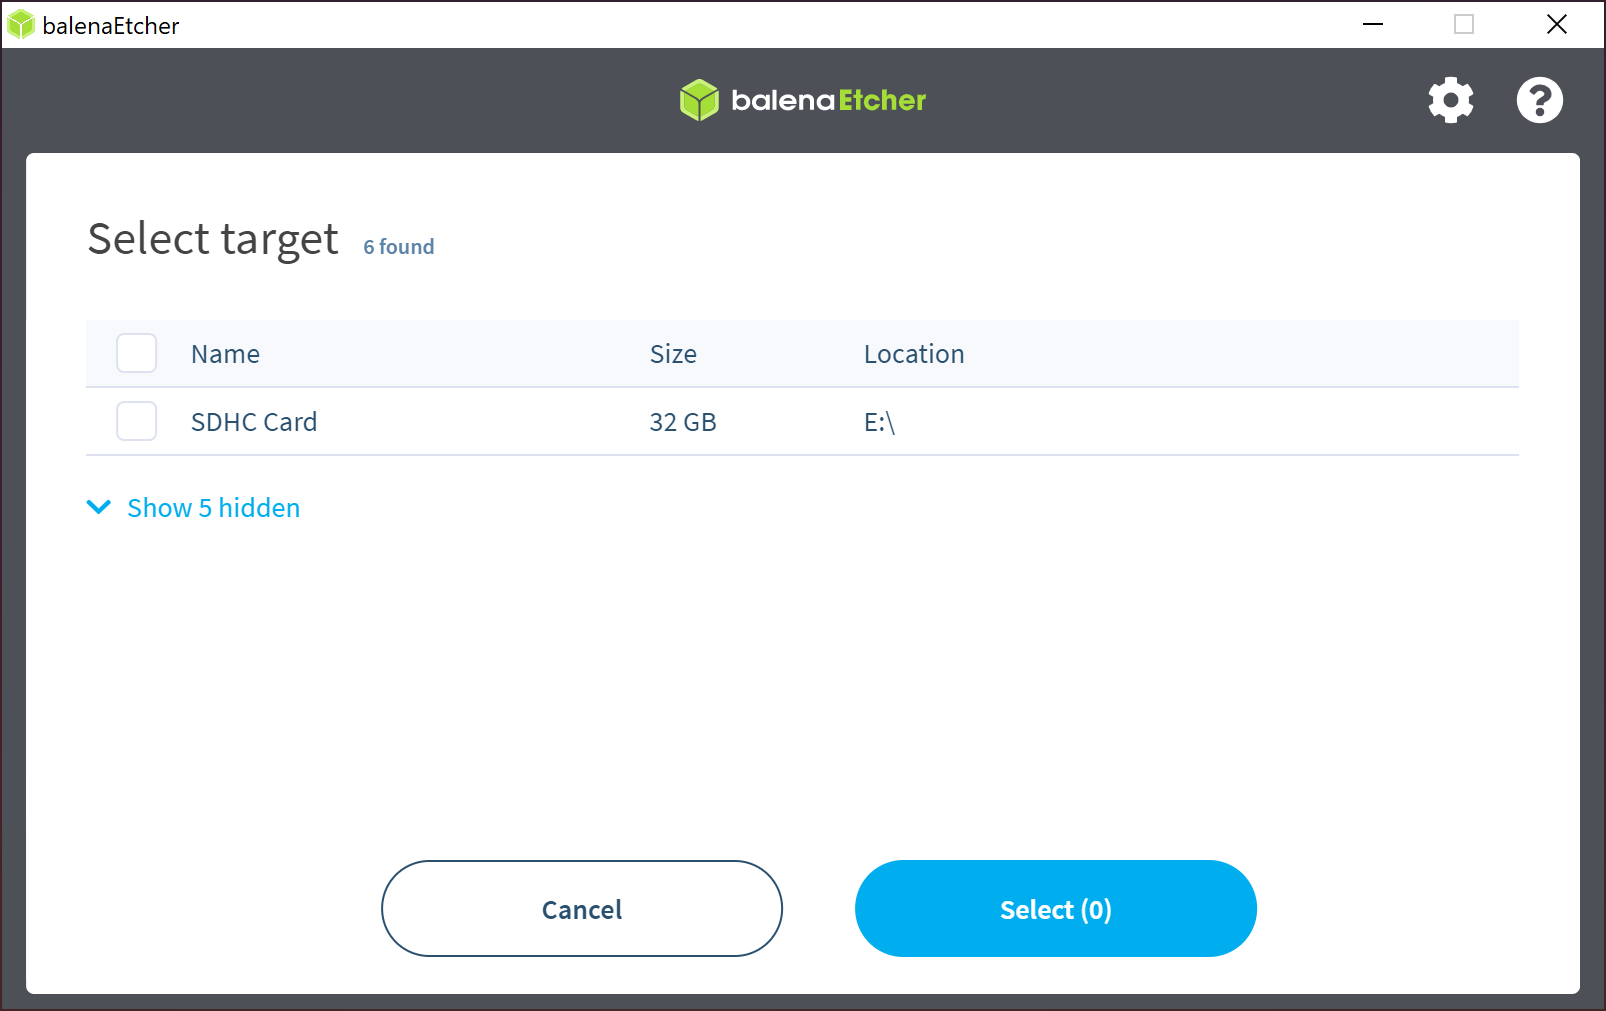
Once selected, click "Flash!" and the image will be written to the drive. The flashing process may take 5-15 minutes.
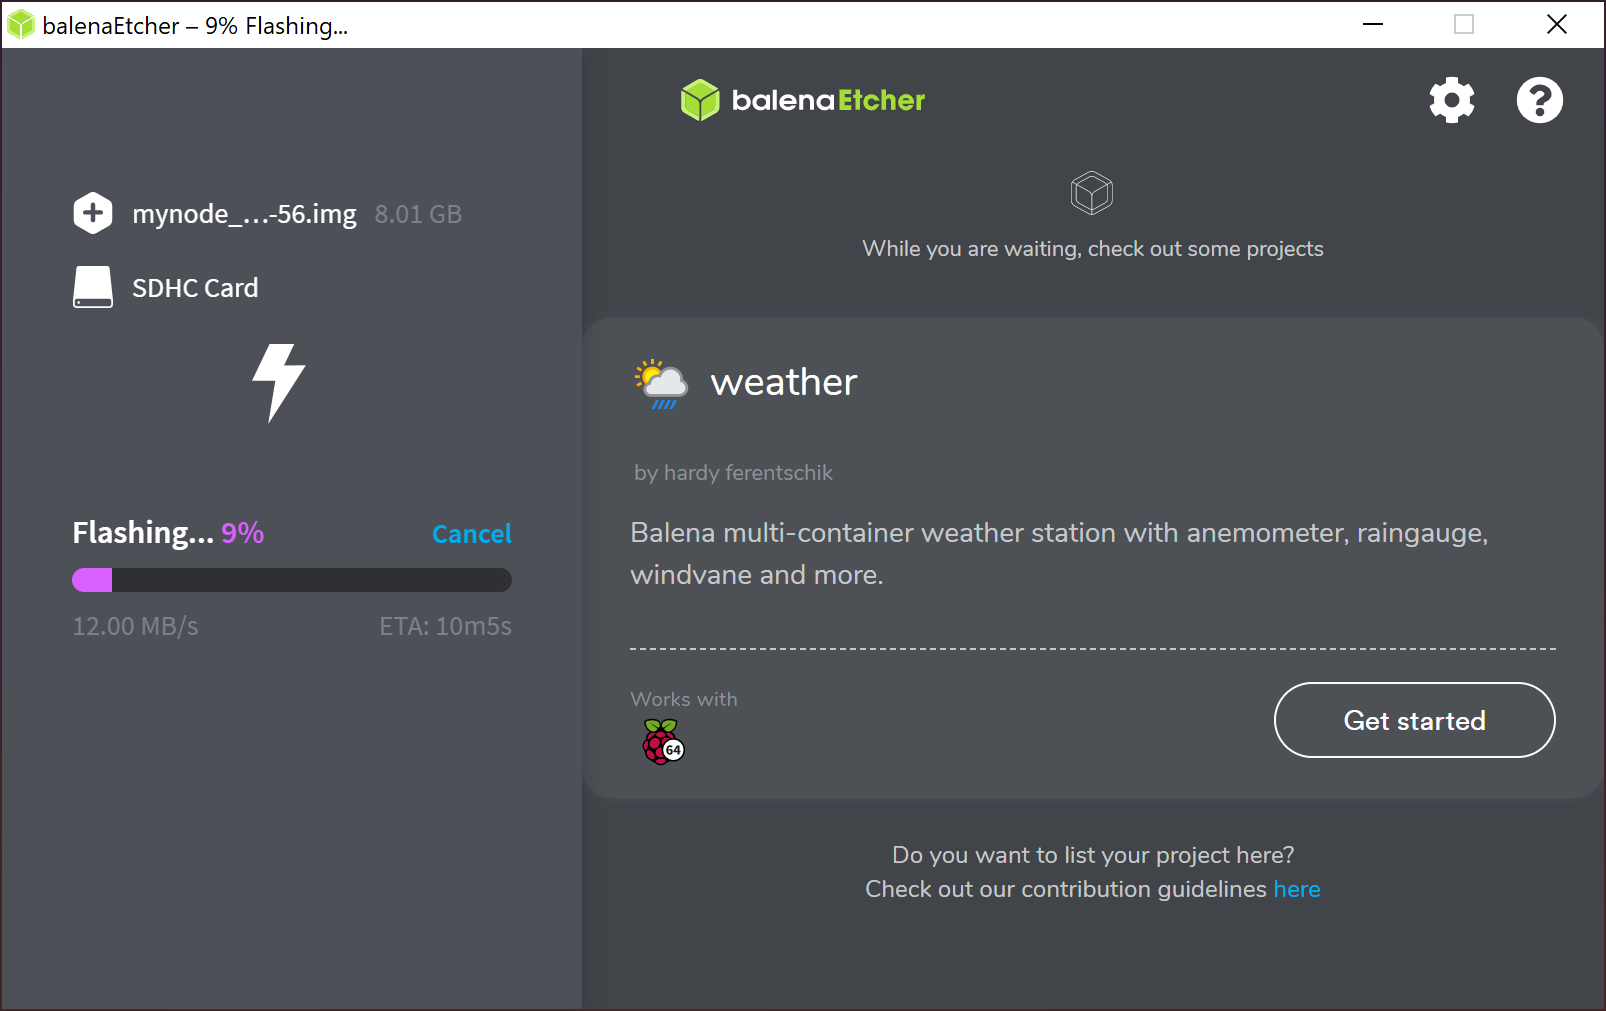
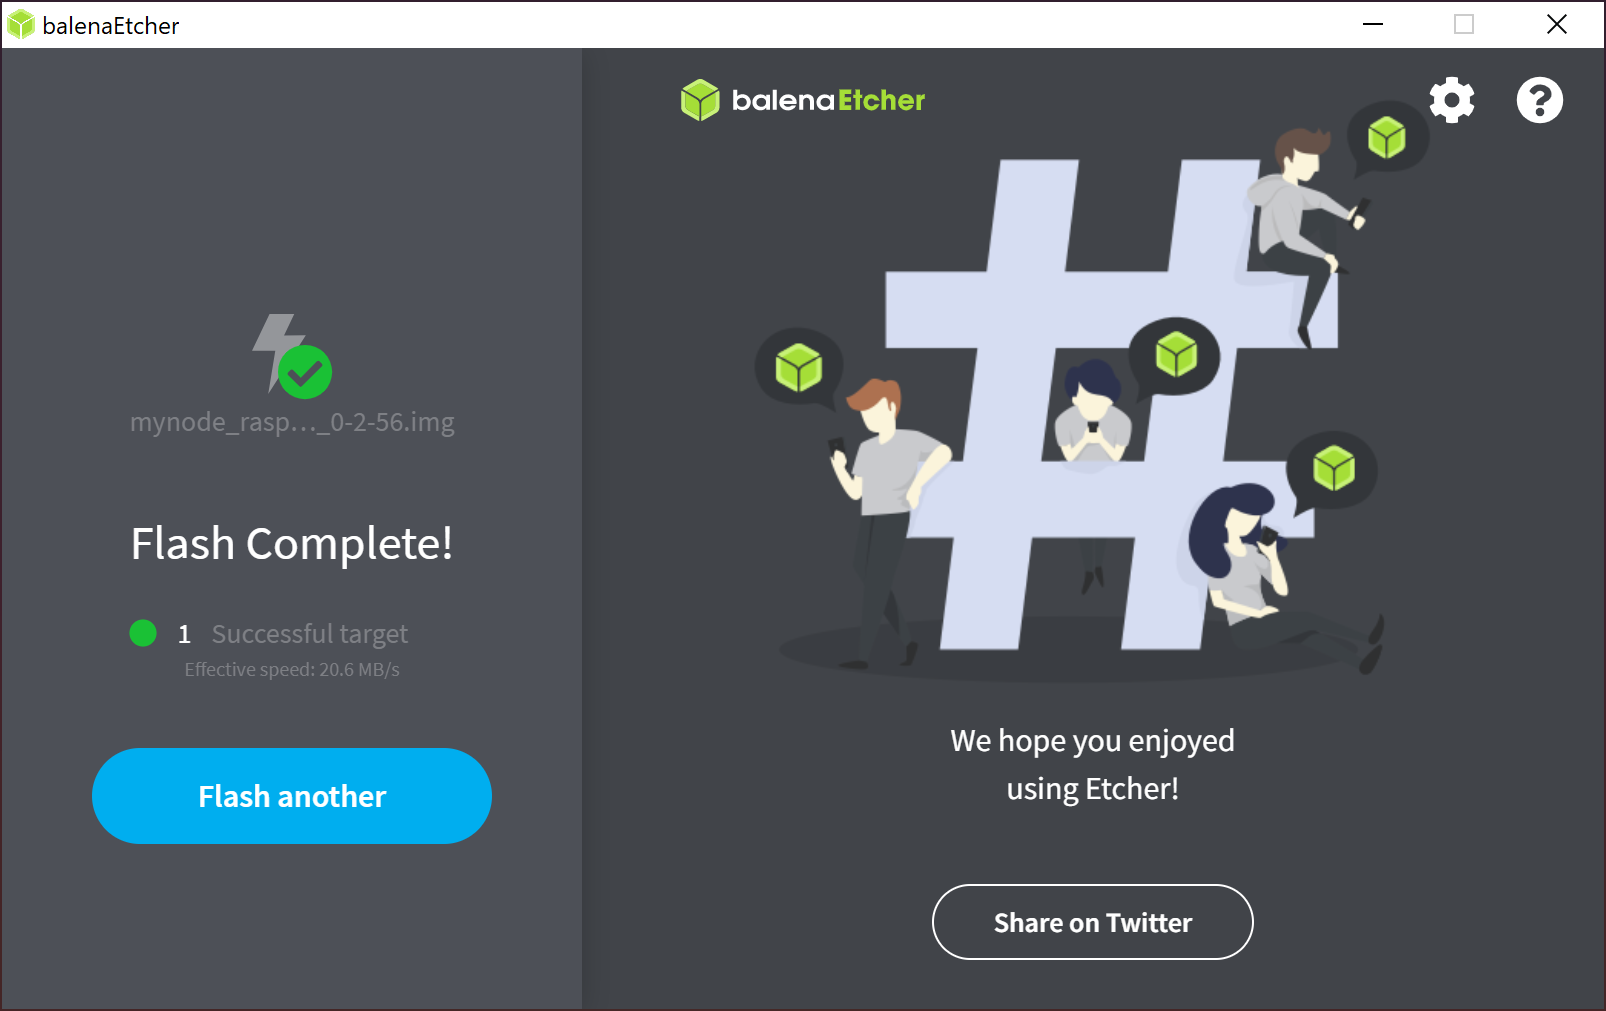
Once the image has been written to the flash drive, you can remove it from the PC.
# Insert Flash Drive into Device
Finally, the last step is to take the flash drive and insert it into the unpowered device.
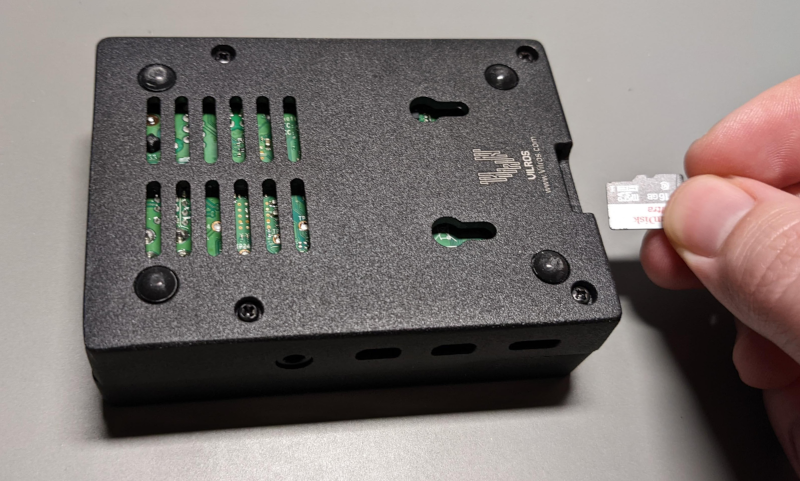
Once, it has been inserted, reconnect the power cable and enjoy MyNode!
For futher steps, try the Getting Started guide.